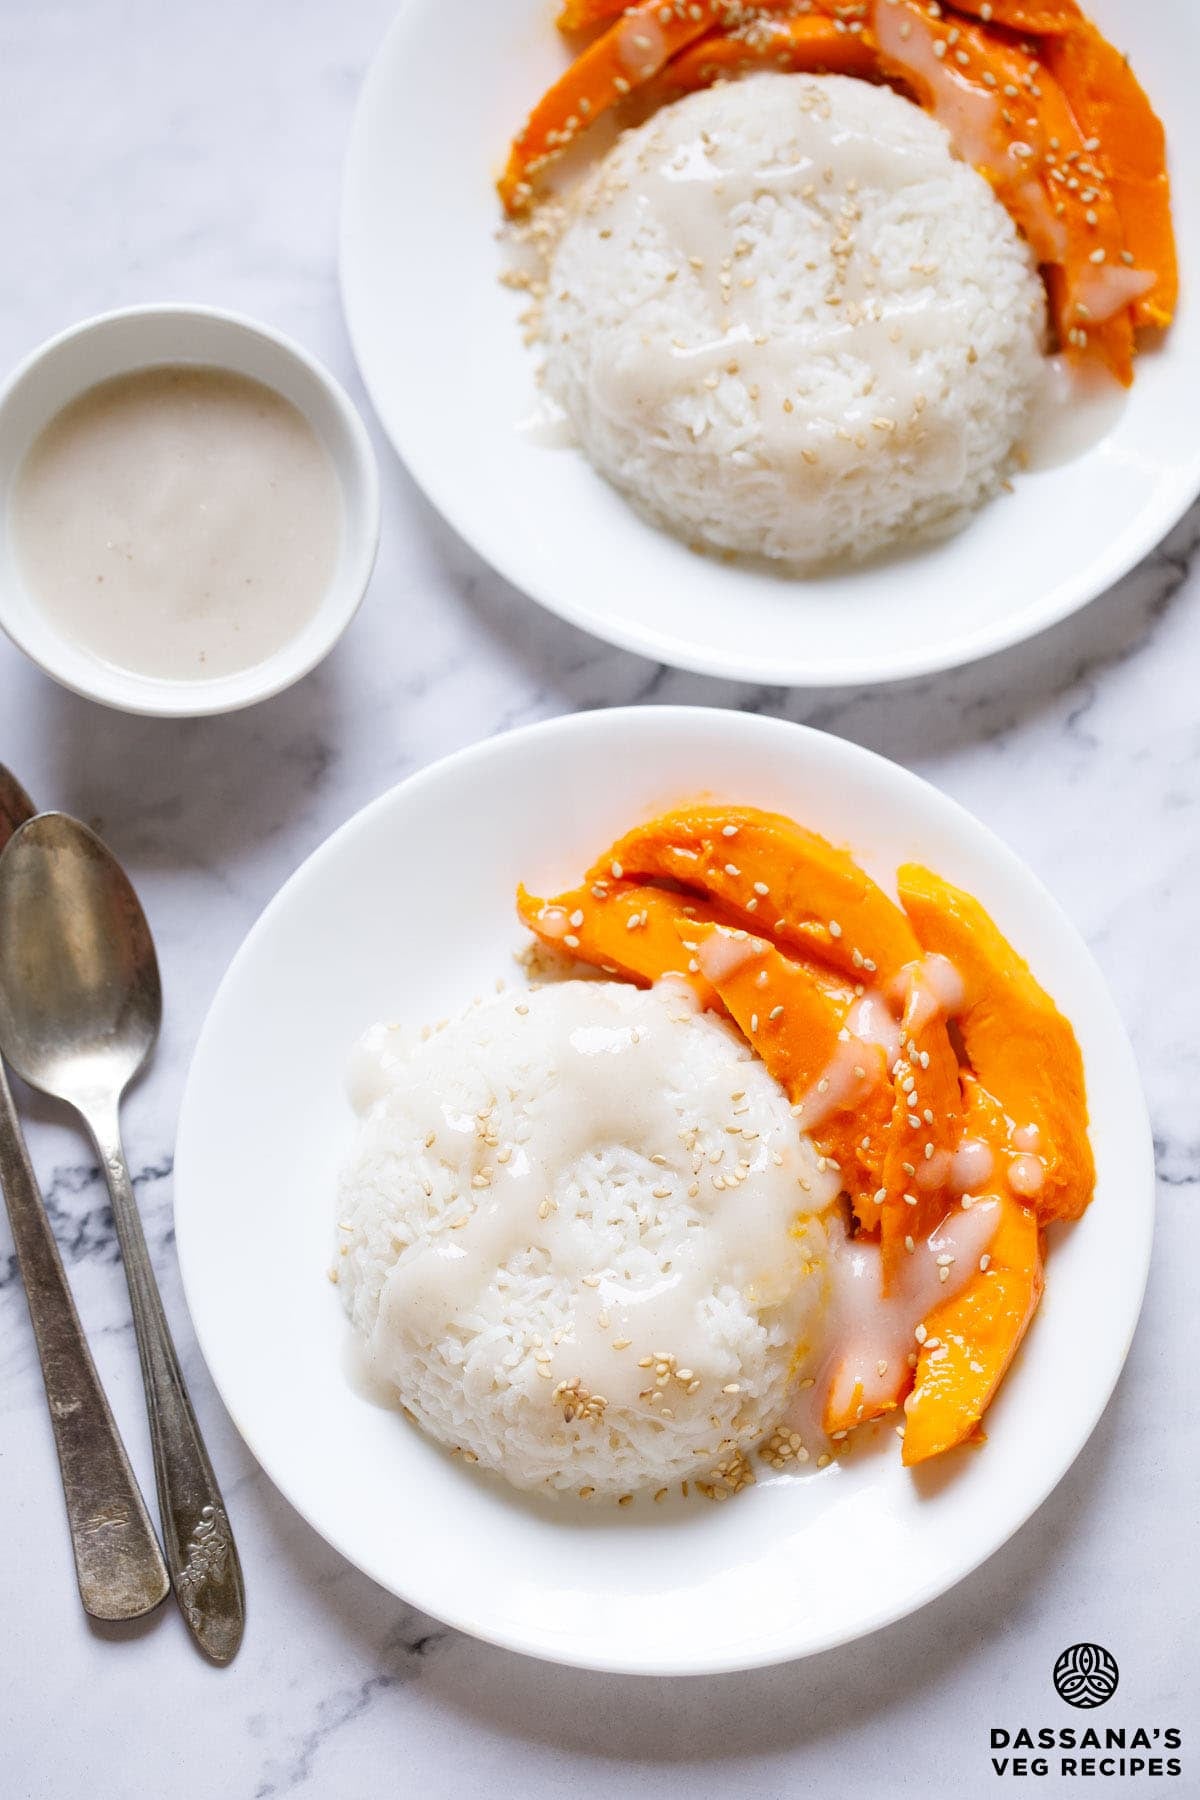
Mango Sticky Rice is a popular Thai dessert made with sweet sticky rice, ripe mangoes and a lightly salted coconut sauce. Traditionally, it is prepared with Thai glutinous rice that is soaked and steamed until chewy and translucent. The coconut milk infused rice is served with fresh mango slices and a drizzle of coconut sauce. This homemade recipe follows the classic Thai method and uses simple ingredients to create a delicious dessert at home.
About Mango Sticky Rice
Thai Mango Sticky Rice, known as Khao Niao Mamuang in Thailand, is one of the country’s most popular desserts. It is made with sticky rice, sweet ripe mangoes and a lightly sweetened coconut sauce.
This dessert is especially popular during mango season when fresh mangoes are at their peak. The combination of creamy coconut milk, sticky rice and juicy mangoes makes it both simple and satisfying.
Traditionally, Mango Sticky Rice is prepared with Thai sticky rice, also known as glutinous rice. After soaking and steaming, the rice becomes chewy, sticky and translucent.
Despite its name, glutinous rice does not contain gluten. The term refers to its sticky texture after cooking.
Once cooked, the rice is mixed with warm sweetened coconut milk and allowed to rest. This helps the grains absorb the coconut flavor while remaining moist and tender.
A portion of the coconut milk is also thickened into a sauce and drizzled over the rice before serving. The slight hint of salt in the sauce balances the sweetness of the mangoes.
For the best flavor, use naturally sweet and ripe mangoes. Thai varieties are commonly used, but any sweet, non-fibrous mangoes work well.
This Mango Sticky Rice recipe includes the traditional Thai sticky rice method. If Thai glutinous rice is difficult to find, you can use Jasmine Rice or another naturally sticky rice variety available locally.
Keep in mind that the texture will be different, as Thai glutinous rice has a distinctive chewy and sticky texture.
The final plated photos and some of the later step-by-step photos show a naturally sticky rice variety, while the recipe instructions follow the traditional Thai sticky rice method.
The result is a delicious dessert with sweet mangoes, creamy coconut milk and sticky rice.
More Mango Desserts You May Like
How to Make Mango Sticky Rice (Stepwise)
Prepare & Cook Thai Sticky Rice
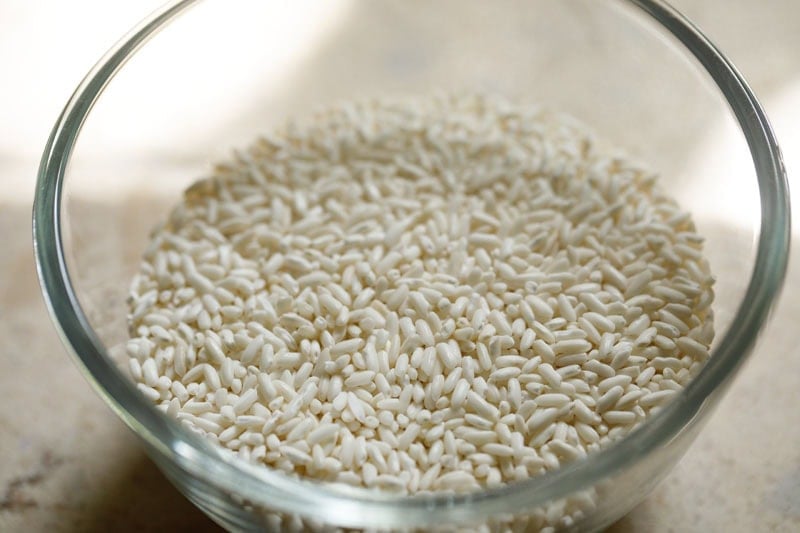
1. Take 1 cup (200 grams) Thai sticky rice or glutinous rice in a bowl.
2. Rinse the sticky rice three to four times in fresh water until the water becomes less cloudy.
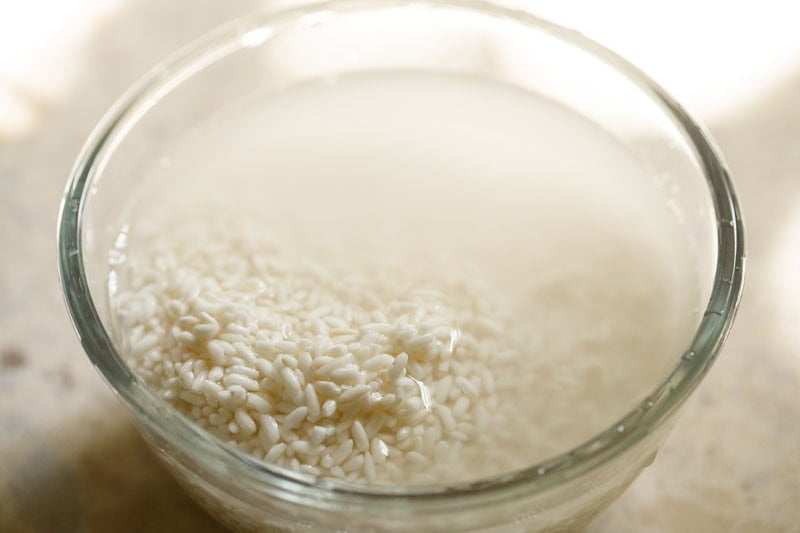
3. Transfer the rinsed rice to a bowl. Add 1½ cups hot water and cover with a lid. Soak for 1 hour.
Note: A 1-hour soak in hot water works well and is the method used in this recipe. For even better results, you can soak the rice in room-temperature water for 4 to 6 hours or overnight before steaming.
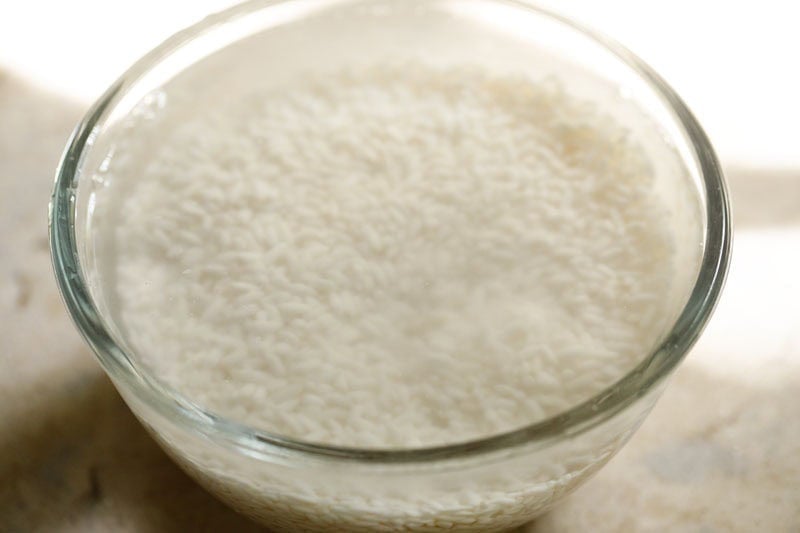
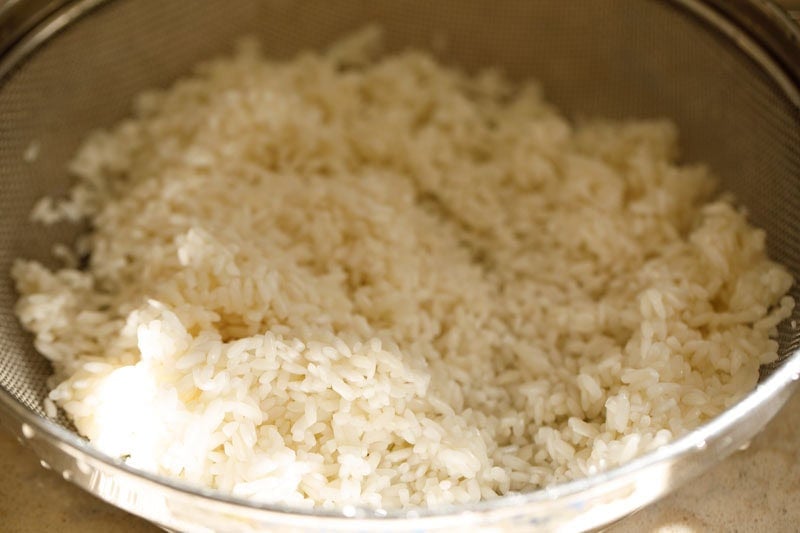
4. After soaking, strain the rice and rinse it once or twice again. This helps remove excess surface starch and prevents the rice from becoming overly gummy. Drain well.
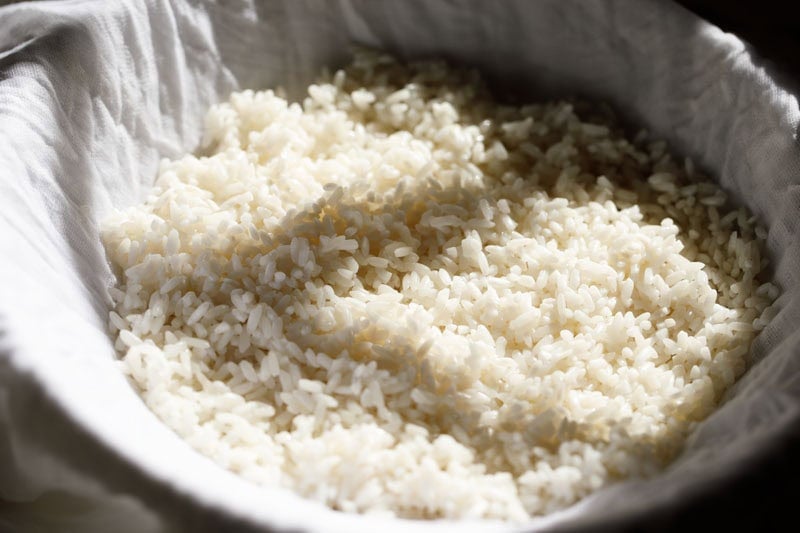
5. Line a perforated steamer basket or strainer with a muslin cloth. Spread the soaked rice evenly.
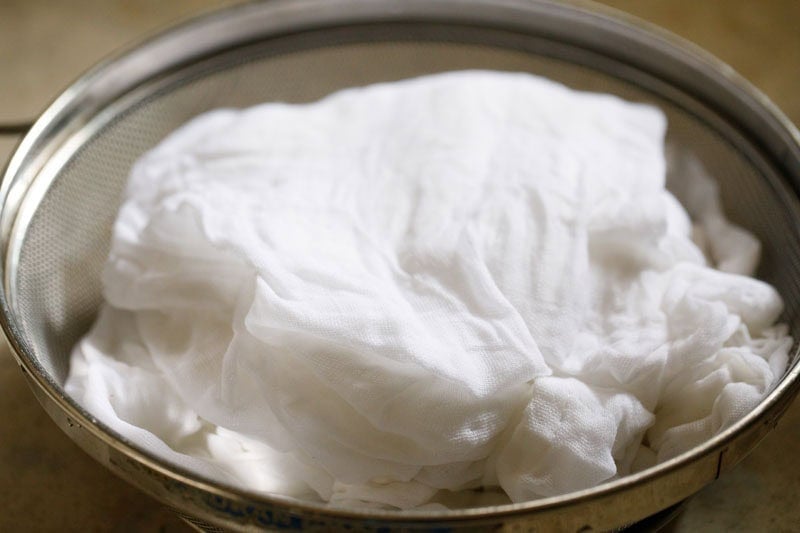
6. Loosely fold the cloth over it.
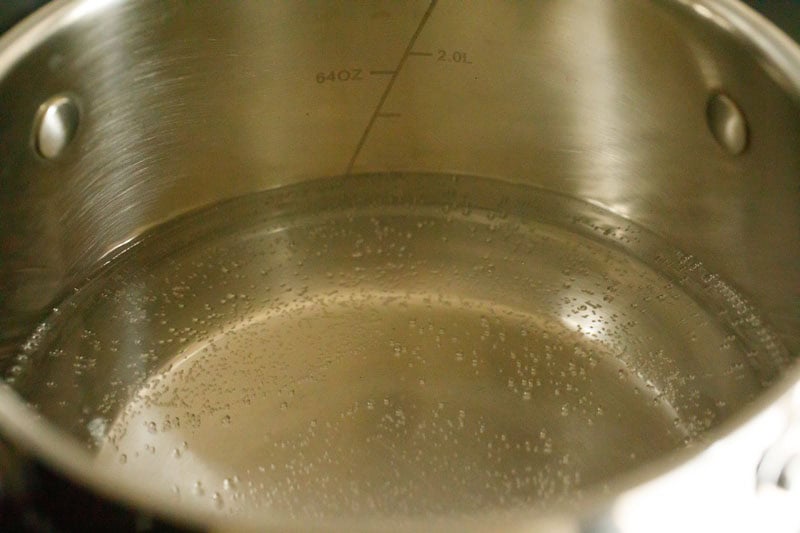
7. Add 4 cups (1 liter) water to a large pot and bring it to a boil.
8. Place the muslin-lined steamer or strainer over the pot once steam is visible.
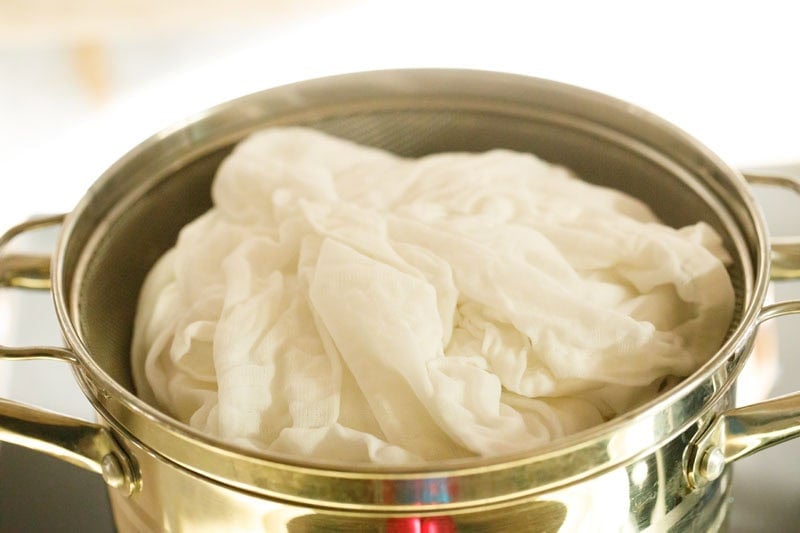
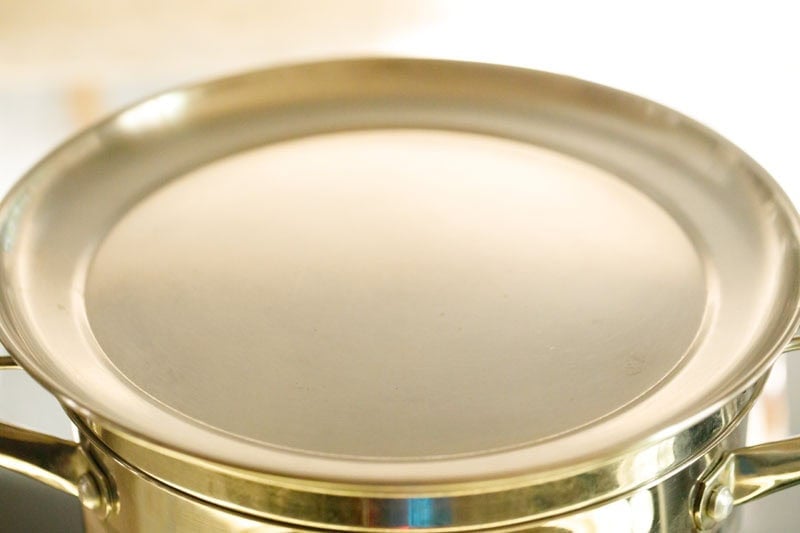
9. Cover with a tight-fitting lid and steam for 20 to 22 minutes on medium to medium-high heat.
Tip: For a small batch of rice, turning or fluffing midway through steaming is optional. Since the steam and muslin cloth will be very hot, I usually leave the rice undisturbed and continue steaming until fully cooked.
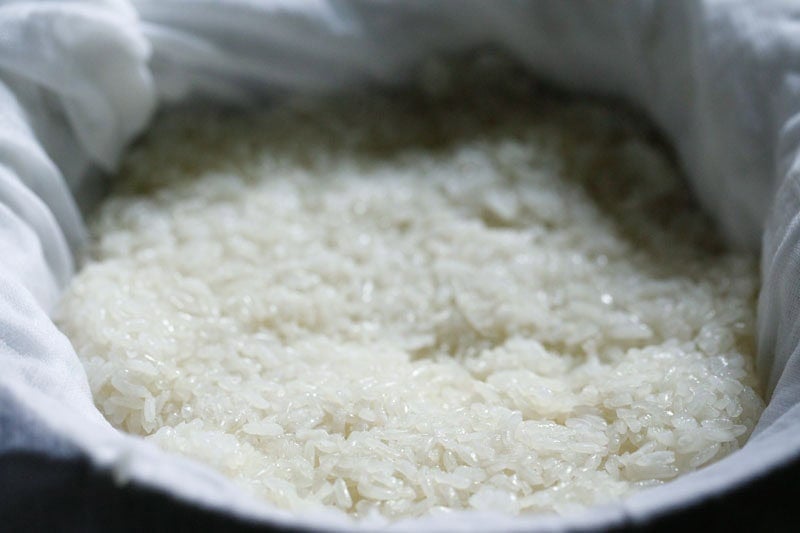
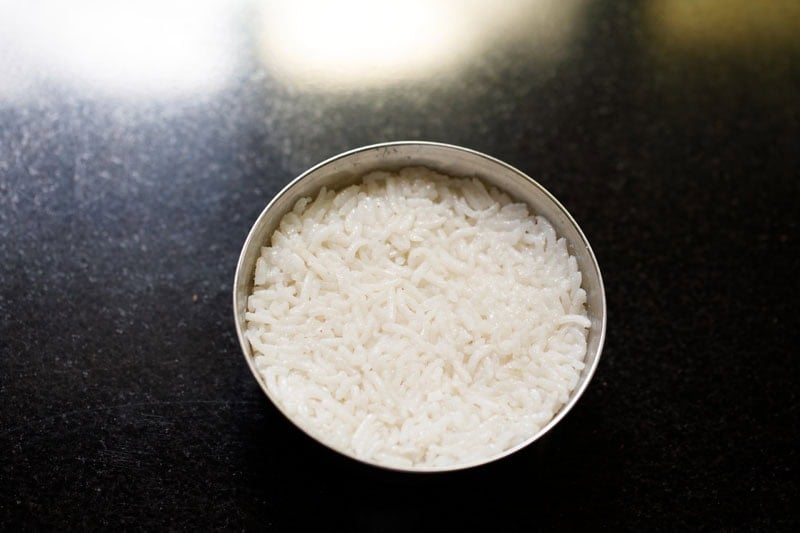
10. The rice is done when the grains look glossy, sticky and translucent. When pressed between your fingers, the grains should feel soft, tender and chewy with no hard or opaque center. Taste a few grains to make sure they are cooked through.
Alternative Rice Option: If using another naturally sticky rice variety that is not Thai glutinous rice, cook it according to the package instructions. Once cooked, proceed with the coconut milk mixture as shown in the remaining steps. The texture will be softer and less chewy than traditional Thai sticky rice.
Make Coconut Milk Mixture
11. In a pan, add 1 cup coconut milk.
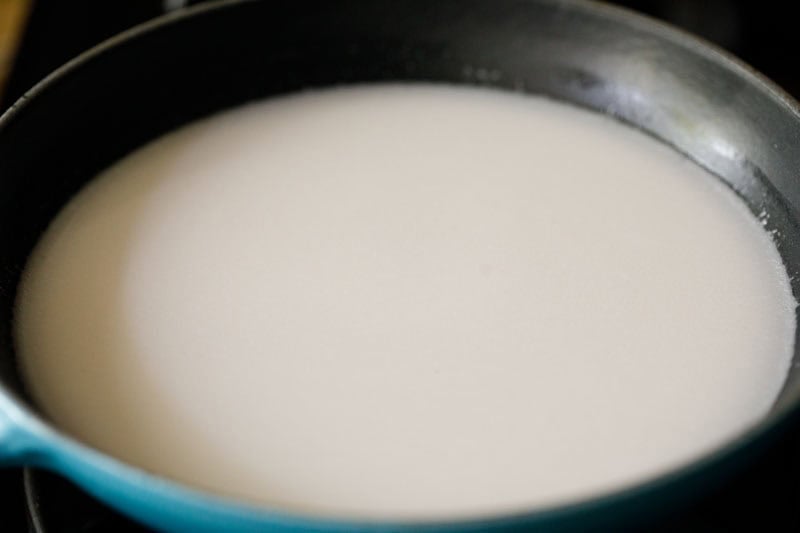
12. Add 3 tablespoons sugar.
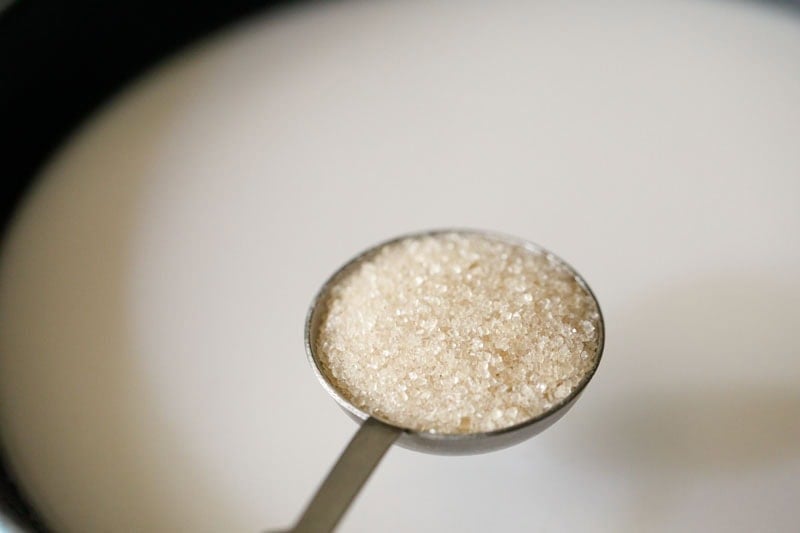
13. Place the pan on low heat and stir until the sugar dissolves. If using pandan leaf, tie it into a knot and add it to the coconut milk while heating.
Do not boil the coconut milk. Heat only until warm or gently hot.
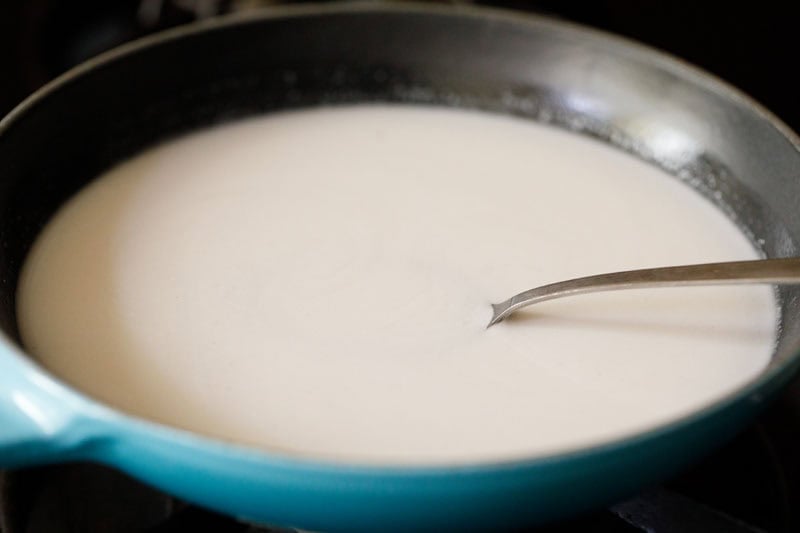
14. Add ¼ teaspoon salt and mix well.
Tip: Thai coconut sauce traditionally has a slight salty-sweet flavor. If you prefer a sweeter dessert, reduce the salt slightly.

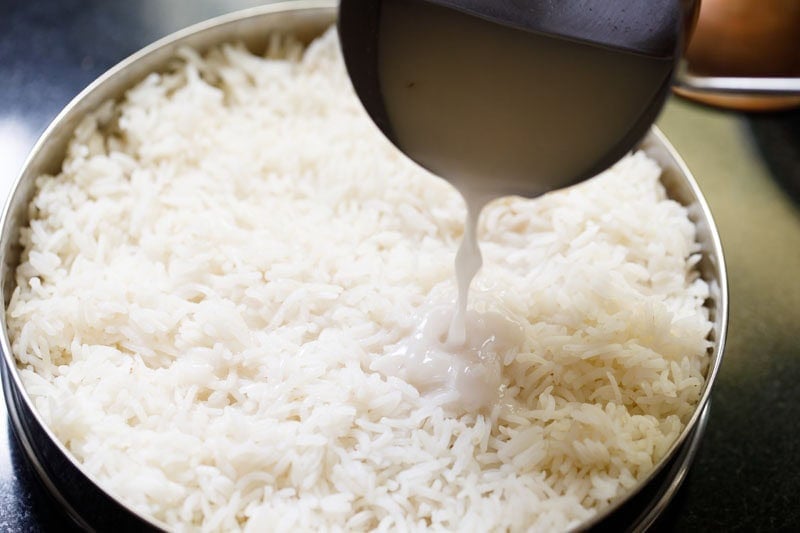
15. Pour about ⅔ cup of the warm coconut milk mixture over the cooked rice.
Mix gently but thoroughly so the rice absorbs the coconut milk evenly.
Cover and let the cooked rice rest for 15 to 20 minutes. During this time, the rice absorbs the coconut milk and becomes flavorful.
Note: The rice shown in the next few photos is a non-glutinous sticky rice variety cooked separately. For the traditional version, use the steamed Thai sticky rice prepared above.
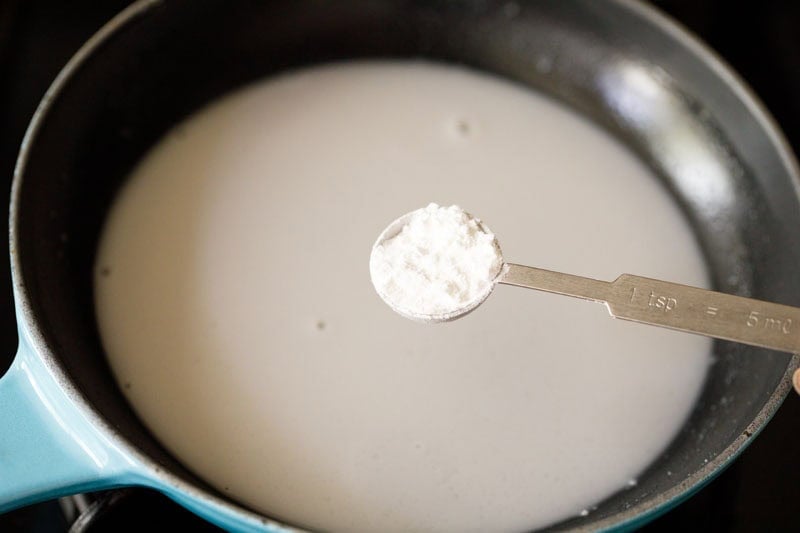
16. To the remaining coconut milk mixture in the pan, add 1 teaspoon tapioca starch or ¾ teaspoon cornstarch.
Mix very well until smooth.
Make Coconut Sauce
17. Place the pan on low heat and cook gently for about 4 to 5 minutes, while stirring continuously.
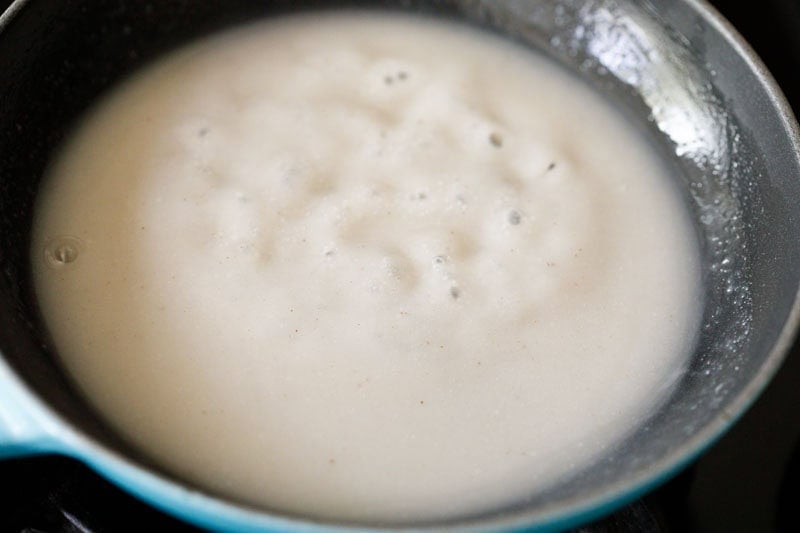
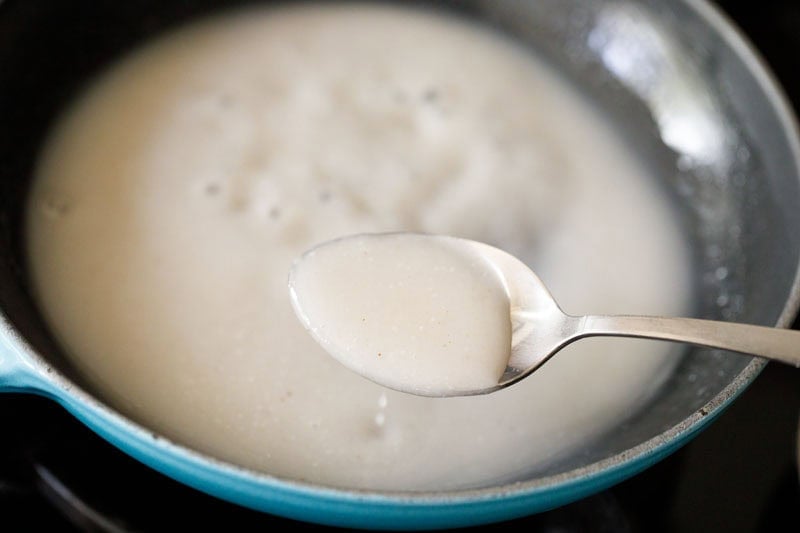
18. Cook until the sauce thickens slightly. Do not allow lumps to form.
Once thickened, switch off the heat and set aside.
Tip: For additional fragrance, you can add a few drops of pandan extract or pandan essence if available.
Prepare Mangoes
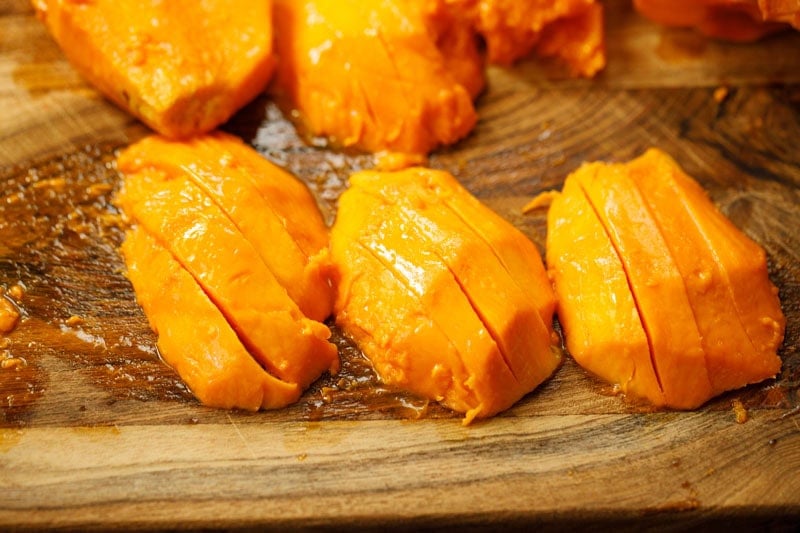
19. Peel and slice 2 to 3 mangoes into thick slices.
Use ripe, sweet mangoes for the best taste and flavor. Here I have used alphonso mangoes.
Assemble Mango Sticky Rice
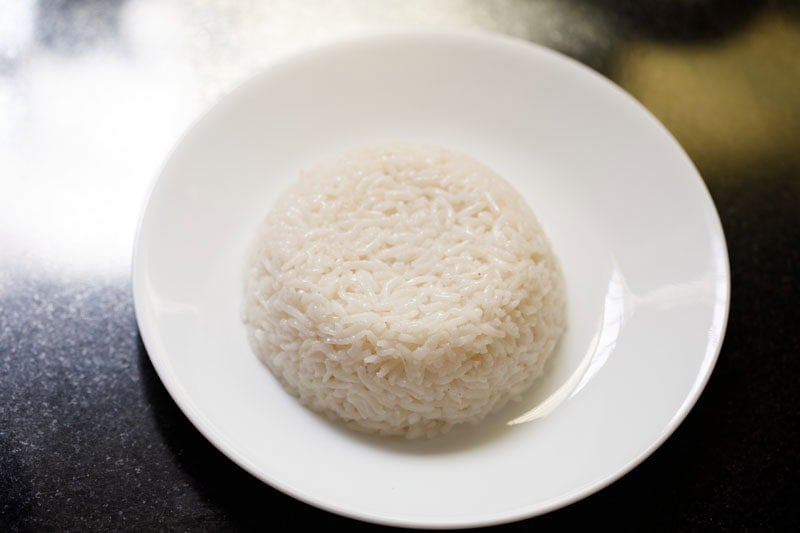
20. Take some prepared sticky rice and place it in a small bowl.
Press gently and smooth the surface.
21. Invert the bowl onto a serving plate and carefully unmould the rice.
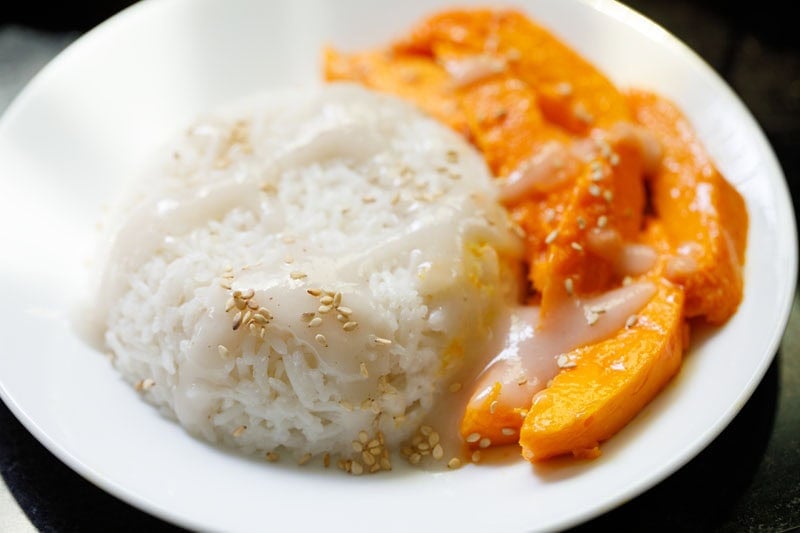
22. Arrange the sliced mangoes beside the rice.
Drizzle 1 to 2 teaspoons of the coconut sauce over the rice and mangoes.
Sprinkle toasted sesame seeds on top.
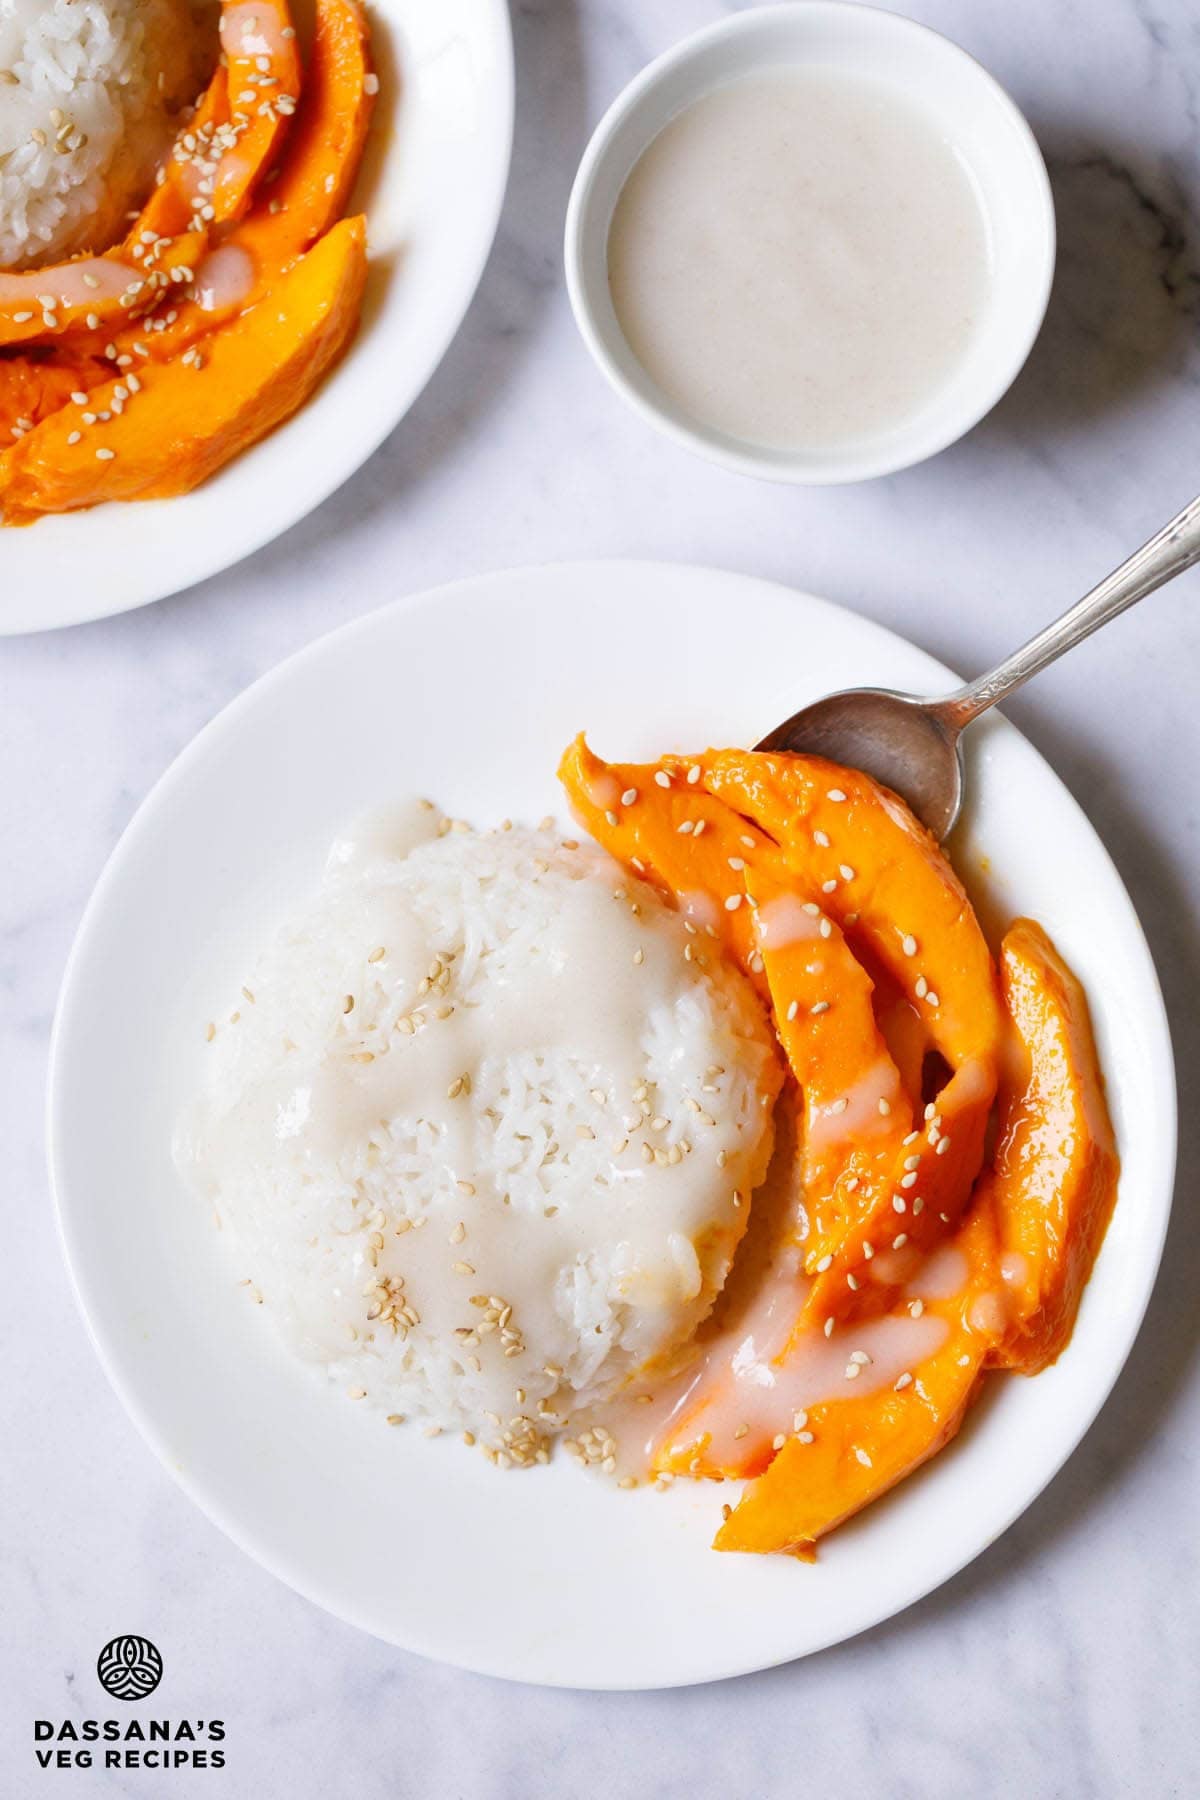
23. Serve mango sticky rice warm or at room temperature.
Toasted sesame seeds add a pleasant nutty flavor and light crunch. You can also garnish with toasted mung beans or black sesame seeds.
Serving Suggestions & Storage
Serve Mango Sticky Rice slightly warm or at room temperature. It is best enjoyed on the day it is made when the rice is soft and the mangoes are fresh.
For a traditional presentation of Mango Sticky Rice, serve extra coconut sauce on the side.
Leftover rice can be refrigerated for up to 1 day. Reheat gently before serving.
Store cut mangoes separately in the refrigerator and add them just before serving.
I do not recommend freezing this dessert as the texture of both the rice and mangoes changes significantly after thawing.
Dassana’s Recipe Tips
- Use Thai Sticky Rice: Traditional Mango Sticky Rice is made with Thai sticky rice (glutinous rice). It becomes chewy, sticky and translucent after steaming. Other rice varieties can be used in a pinch, but the texture will not be the same.
- Soak the Rice Well: I soaked the rice in hot water for 1 hour, which worked well and reduced the steaming time. If you have more time, you can soak the rice in room-temperature water for 4 to 6 hours or overnight. Proper soaking helps the rice cook more evenly.
- Steam, Don’t Boil: Thai sticky rice is traditionally steamed rather than cooked directly in water. Steaming gives the rice its characteristic chewy texture and prevents it from becoming mushy.
- Maintain Steady Steam: Make sure the steamer is covered well and excessive steam does not escape. Consistent steam is important for evenly cooked rice. If needed, check the water level in the pot and add more hot water during steaming.
- Check for Doneness: The rice is ready when the grains look glossy, sticky and translucent. Taste a few grains to make sure they are soft, chewy and cooked through with no hard or opaque center. The exact cooking time can vary depending on the rice variety and soaking time.
- Do Not Boil the Coconut Milk: Heat the coconut milk gently on low heat until warm. Avoid boiling as coconut milk can split or become grainy.
- Let the Rice Absorb the Coconut Milk: After mixing the warm coconut milk mixture with the cooked rice, allow it to rest for 15 to 20 minutes. This resting time helps the rice absorb the flavor and moisture.
- Choose Good Mangoes: Use ripe, sweet and non-fibrous mangoes for the best flavor in your Mango Sticky Rice recipe. Thai mangoes are traditional, but any sweet variety that is firm enough to slice neatly works well.
- Adjust the Sweetness: Depending on the sweetness of your mangoes, you can slightly increase or decrease the sugar in the coconut milk mixture.
- Alternative Rice Option: If Thai sticky rice is unavailable, you can use a naturally sticky rice variety and cook it according to the package instructions. Keep in mind that the texture will be softer and less chewy than the traditional Mango Sticky Rice version but still taste good.
For Cooking Sticky Rice (Glutinous Rice)
Preparing Sticky Rice
-
Rinse the rice several times until the water becomes less cloudy.
-
Soak the rice in hot water for about 1 hour.
-
Drain and rinse again twice or thrice to remove excess starch. Using a mesh strainer, drain the rice very well.
-
Place the rice in a muslin-lined steamer or metal strainer.
-
Bring water to a boil in a large pot.
-
Place the muslin-lined steamer over the pot once steady steam is visible and cover with a tight-fitting lid.
-
Steam for about 20 to 22 minutes or until the grains are glossy, sticky and translucent.
-
Remove from the heat and let the rice rest, covered, for 5 minutes.
-
Transfer the cooked sticky rice to a mixing bowl.
Preparing Coconut Milk Mixture
-
Heat coconut milk with sugar on low heat until the sugar dissolves.
-
Add salt and mix well.
-
Pour ⅔ cup of this mixture over the cooked sticky rice and mix thoroughly.
-
Cover and rest for 15 to 20 minutes so the rice absorbs the coconut milk.
Making Coconut Sauce
-
Add tapioca starch or cornstarch to the remaining ⅓ cup of the coconut milk mixture in the pan.
-
Cook gently on low heat for 4 to 5 minutes, while stirring continuously.
-
Once slightly thickened, remove from heat.
Assembling & Making Mango Sticky Rice
-
Place some prepared sticky rice in a small bowl and gently press to shape it.
-
Invert the bowl onto a serving plate and carefully unmould the rice.
-
Arrange the sliced mangoes alongside the rice.
-
Drizzle some coconut sauce over the rice and mangoes. Extra coconut sauce can be served on the side if desired.
-
Garnish with toasted sesame seeds and serve Mango Sticky Rice.
-
You can also garnish with toasted mung beans or black sesame seeds.
Serving & Storage
-
Serve Mango Sticky Rice slightly warm or at room temperature. Drizzle extra coconut sauce on top or serve it on the side.
-
Store leftover rice and mangoes separately in the refrigerator for up to 1 day. Reheat the rice gently before serving.
- Rice: Thai sticky rice (glutinous rice) gives the most authentic chewy and sticky texture. If it is unavailable, you can use jasmine rice or another naturally sticky rice variety cooked according to the package instructions. The texture will be softer and less chewy than the traditional version but will still taste nice.
- Sauce: If using cornstarch instead of tapioca starch, use about ¾ teaspoon cornstarch. The sauce should be lightly thickened and pourable.
- Soaking: I soaked the Thai sticky rice in hot water for 1 hour before steaming. For even better results, you can soak the rice in room-temperature water for 4 to 6 hours or overnight.
- Coconut Milk: Heat the coconut milk gently and avoid boiling it, as it can split or become grainy. Stir only until the sugar dissolves and the mixture is warm or lightly hot.
- Steaming: Maintain steady steam throughout cooking and keep the lid covered as much as possible. The rice is done when the grains look glossy, sticky and mostly translucent, with no hard center.
- Mangoes: Use ripe, sweet and preferably non-fibrous mangoes for the best flavor and texture.
Calories: 398kcal | Carbohydrates: 67g | Protein: 5g | Fat: 13g | Saturated Fat: 11g | Polyunsaturated Fat: 0.4g | Monounsaturated Fat: 1g | Sodium: 163mg | Potassium: 339mg | Fiber: 3g | Sugar: 23g | Vitamin A: 1120IU | Vitamin B1 (Thiamine): 0.1mg | Vitamin B2 (Riboflavin): 0.1mg | Vitamin B3 (Niacin): 2mg | Vitamin B6: 0.2mg | Vitamin C: 38mg | Vitamin E: 1mg | Vitamin K: 4µg | Calcium: 35mg | Vitamin B9 (Folate): 56µg | Iron: 3mg | Magnesium: 51mg | Phosphorus: 107mg | Zinc: 1mg
Disclaimer: We do not own any of the content, ideas, images, or text presented here. All rights belong to their respective owners. For more information and to view the original source, please visit the following link: